Why You’ll Love This Queen Cake Recipe
When you take a bite of this Queen Cake, you’ll instantly understand why it’s a favorite for special occasions. The rich, velvety chocolate mingles beautifully with the subtle almond flavor, creating a mouthwatering experience.
Each slice feels like a celebration, perfect for birthdays or holidays. The cake’s texture is both dense and light, offering a satisfying indulgence without being overwhelming.
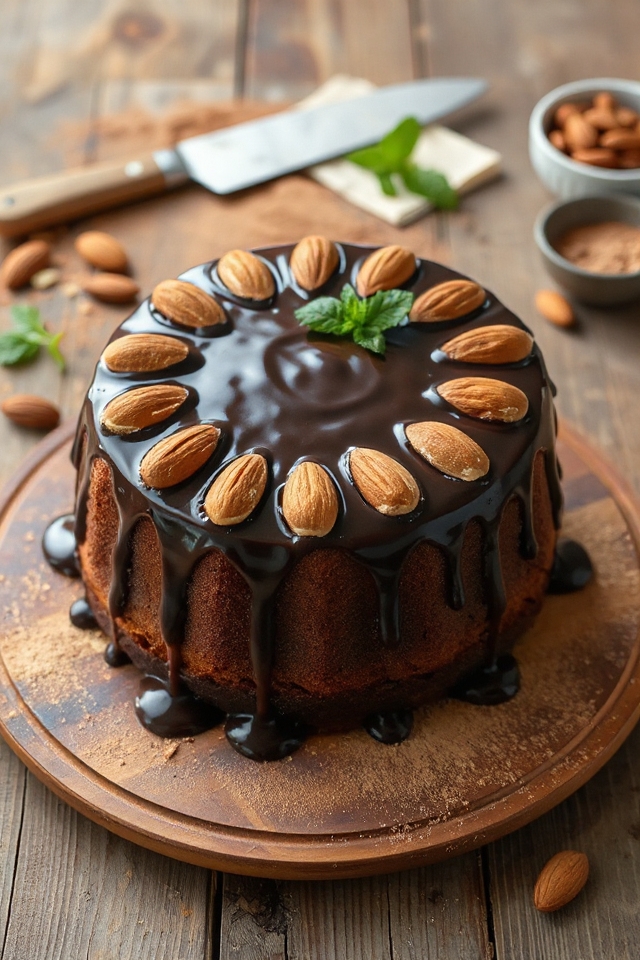
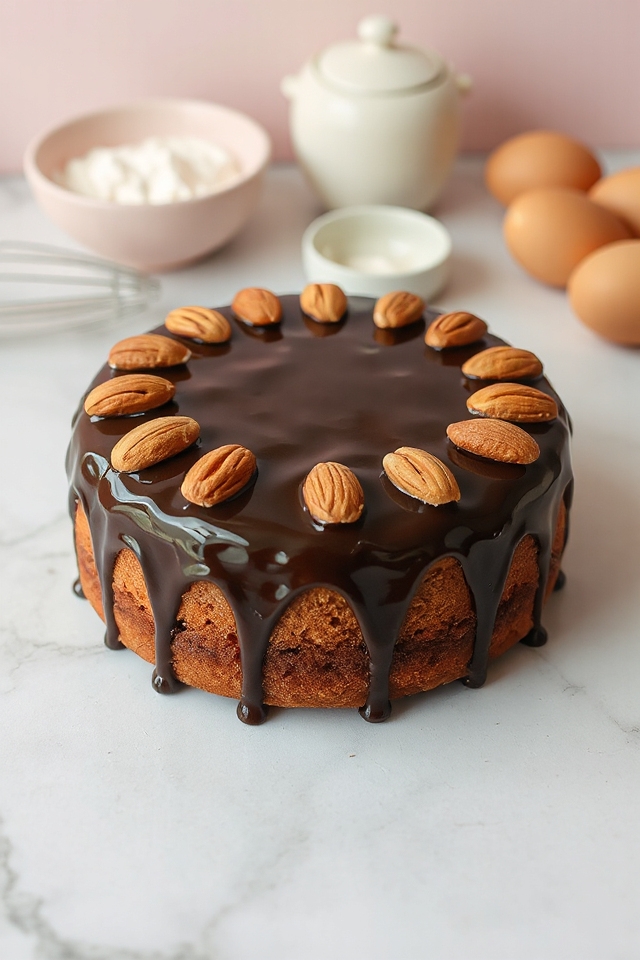
I love how it looks, too—garnished with whole almonds, it’s visually stunning. And let’s not forget the luscious glaze that adds a glossy finish, making it irresistible.
Trust me, this cake will leave you and your guests wanting more.
Ingredients of Queen Cake
Making a Queen Cake is like stepping into a bakery full of rich chocolate and sweet almond aromas. The ingredients come together to create a dessert that’s not just a cake; it’s an experience. Imagine biting into a slice and feeling the soft, moist cake melt in your mouth, with a touch of liqueur adding a hint of sophistication.
You’ll want to gather everything on this list so you can whip up your own masterpiece at home.
Here’s what you’ll need to create this delicious Queen Cake:
- 1/2 lb butter
- 1 1/3 cups white sugar, plus 2 tablespoons for egg whites
- 1/2 lb semisweet or bittersweet chocolate
- 3 ounces ground almonds
- 1/4 cup Kahlua (or your favorite liqueur)
- 4 eggs, separated
- 1 cup flour
- 6 ounces semisweet or bittersweet chocolate, broken into pieces
- 6 ounces heavy cream, divided
- 1 tablespoon butter (for the glaze)
- 12 whole almonds (for garnish)
Now, let’s chat a bit about these ingredients. The choice of chocolate is key; semisweet gives a nice sweetness while bittersweet adds depth.
And those ground almonds? They’re what makes the cake so special, providing a nutty flavor that pairs perfectly with the chocolate. Don’t skimp on the butter; it’s what gives the cake that lovely, moist texture.
If you’re not a fan of Kahlua, feel free to swap it out for any liqueur you like—or even a bit of strong coffee if you’re looking to keep it alcohol-free. Just think about how these ingredients work together, and you’ll be on your way to creating something truly delightful.
How to Make Queen Cake
Making a Queen Cake is an adventure in baking, and trust me, it’s one you’ll want to undertake. To start, preheat your oven to 350 degrees. Now, grab that 1/2 lb of butter and 1 1/3 cups of white sugar and mix them together in a bowl. You want to beat them until the mixture is light and fluffy, which is kind of like giving your cake a little aerobic workout.
While you’re at it, melt 6 ounces of chocolate—whether you chose semisweet or bittersweet is up to you, but either will do just fine. Once it’s melted, blend it with 3 ounces of ground almonds into your butter-sugar mix. This is where the magic begins; the smell is going to keep you hovering around the kitchen like a puppy waiting for treats.
Next, slowly add in 1/4 cup of Kahlua, or your liqueur of choice—don’t be shy here, it’s what gives this cake a touch of sophistication. Now, one by one, add in the 4 egg yolks, mixing well after each addition.
In a separate bowl, whip up the egg whites until they form soft peaks, then gradually add the remaining 2 tablespoons of sugar until those whites stiffen up like they mean business. Gently fold those fluffy whites into your batter, alternating with 1 cup of flour, starting and ending with the egg whites.
Pour this luscious mixture into a greased 9-inch springform pan—don’t forget to line it with parchment paper and dust it with a bit of flour to make sure it doesn’t stick. Bake it in your preheated oven for about 40 to 60 minutes; just keep an eye on it. You want it to be done, not a gooey mess, so maybe give it a poke with a toothpick to check.
After baking, let your cake cool overnight on a wire rack—this is essential, so don’t rush it. The next day, once it’s completely cool, you can remove it from the pan and get ready to glaze.
For the glaze, melt the remaining 6 ounces of chocolate with 2 ounces of heavy cream in a double boiler, stirring constantly until it’s just warm (not hot!). Whisk in the last 4 ounces of cream until the mixture is smooth and shiny, then stir in 1 tablespoon of butter until it melts completely.
Now, drizzle this gorgeous glaze over your cake, and let it set in the fridge until you’re ready to serve. And don’t forget to garnish with those 12 whole almonds; they add a nice touch of elegance. So, go ahead and slice into this beauty—you’ve earned it.
Queen Cake Substitutions & Variations
While I love the original Queen Cake recipe, there are plenty of ways to customize it to suit your taste or dietary needs.
For a gluten-free option, I swap the flour with almond flour. If you’re avoiding sugar, I’ve had success using a sugar substitute like erythritol.
You can also experiment with different liqueurs; I’ve tried amaretto and orange liqueur for a unique flavor twist.
For a nut-free version, I simply omit the almonds.
Finally, if you’re a chocolate lover, adding cocoa powder to the flour mix intensifies the chocolate flavor.
Enjoy personalizing your Queen Cake!
What to Serve with Queen Cake
What pairs beautifully with a luscious slice of Queen Cake?
I love serving it with a dollop of freshly whipped cream, which adds a light, airy contrast to the rich cake. A scoop of vanilla ice cream also complements the flavors perfectly, creating a delightful balance.
For a touch of elegance, I often include a handful of fresh berries, like raspberries or strawberries, which bring a tartness that cuts through the sweetness.
And if you want to elevate your experience, a glass of dessert wine or a bold coffee can enhance the indulgence of this decadent treat.
Enjoy!
Additional Tips & Notes
Serving Queen Cake with delightful accompaniments can enhance the overall experience, but there are a few additional tips to keep in mind for the best results.
First, make certain your ingredients are at room temperature for a smoother batter. When folding egg whites, be gentle to maintain their fluffy texture.
If you want to elevate the flavor, consider adding a splash of vanilla extract or a pinch of salt to the batter. Always check for doneness by inserting a toothpick; it should come out clean.
Finally, let the cake cool completely before glazing for a beautiful finish. Enjoy your baking!