Why You’ll Love This Velvet Cake Recipe
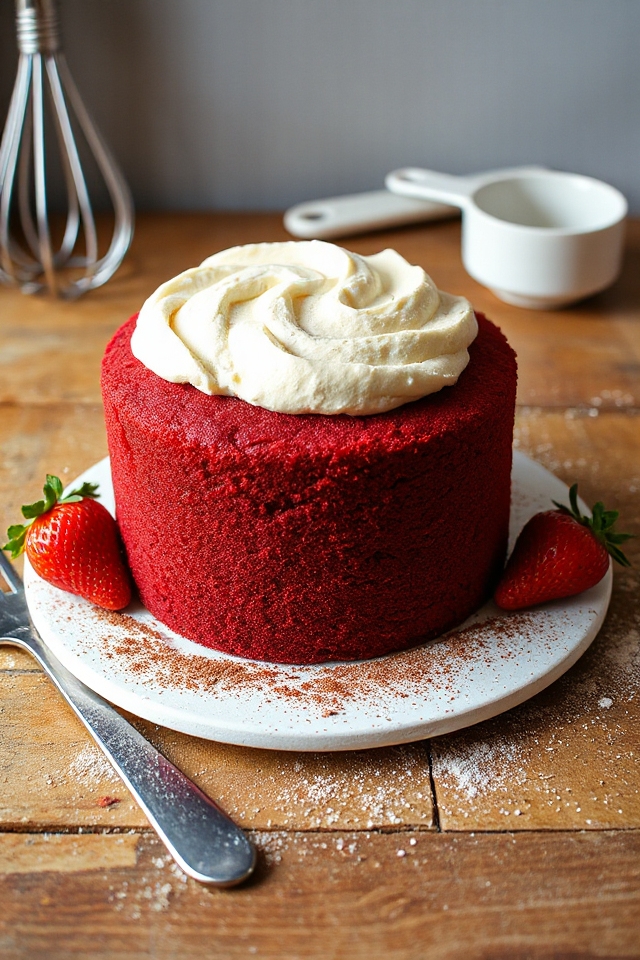
There’s something magical about a slice of velvet cake that draws you in. Its rich, soft texture feels like a hug, and the vibrant color makes it a showstopper at any gathering.
I love how each bite melts in my mouth, perfectly balancing sweetness with just a hint of cocoa. It’s not just a dessert; it’s an experience that evokes joy and nostalgia.
When I share it with friends, I see their faces light up in delight. Plus, it’s surprisingly easy to make!
You’ll find yourself wanting to bake it again and again, creating lovely memories with each slice.
Ingredients of Velvet Cake
When it comes to baking a perfect velvet cake, the ingredients are where the magic begins. Each element plays a vital role in creating that dreamy, soft texture and vibrant color that makes velvet cake so special.
You’ll want to gather everything before diving into the mixing and pouring—trust me, nothing worse than realizing you’re short on cocoa halfway through! So, let’s get down to the essentials you’ll need for this delightful treat.
Ingredients for Velvet Cake:
- 2 1/2 cups flour
- 1 1/2 cups sugar
- 2 tablespoons cocoa powder
- 1 teaspoon baking soda
- 1 teaspoon salt
- 2 large eggs
- 1/2 cup vegetable oil
- 1 cup buttermilk
- 1 teaspoon vanilla extract
- 2 ounces red food coloring
Now, a little tip about the ingredients: while most of them are pretty standard, the red food coloring is what truly brings that signature velvet hue.
It’s like the cherry on top, or in this case, the red in the cake. And don’t worry if you’re not a baking expert; this recipe is forgiving. Just make sure to use fresh baking soda and check the expiration date on your buttermilk.
Nothing worse than a flat cake because your baking soda decided to take a nap. If you’re feeling adventurous, you can even play around with the sugar levels or substitute the vegetable oil for butter, but I say stick to the original for that classic taste.
Happy baking, and remember, it’s okay to get a little messy in the kitchen—flour in your hair just means you’re having fun!
How to Make Velvet Cake
Alright, let’s explore the delightful world of making velvet cake. First off, you’ll want to gather your ingredients—trust me, it’s a lot more fun to have everything in one place rather than running around the kitchen like a headless chicken looking for cocoa powder.
So, preheat your oven to 350 degrees. This is essential because you want your cake to rise beautifully as it bakes.
Now, grab a big mixing bowl and toss in your 2 1/2 cups of flour, 1 1/2 cups of sugar, 2 tablespoons of cocoa powder, 1 teaspoon of baking soda, and 1 teaspoon of salt. Mix these dry ingredients together really well; you want them to be best friends before they meet the wet ingredients.
In a separate bowl, crack in your 2 large eggs and add 1/2 cup of vegetable oil, 1 cup of buttermilk, and 1 teaspoon of vanilla extract. Give it a good whisk—think of it as a mini workout.
Once everything is well combined, pour the wet mixture into the dry one, and mix until just blended. Don’t overdo it; we’re not trying to create a workout for our forearms here.
Now comes the fun part: slowly add in 2 ounces of red food coloring. It’ll probably look like a crime scene at first, but don’t fret—just keep mixing until your batter is a lovely crimson color.
Once your batter is ready, it’s time to get it into your prepared pans. Grease two 8 or 9-inch cake pans (I’ve found the 8-inch ones work best, but do what you have).
Pour the luscious red batter evenly into each pan, then pop those beauties into the oven. Bake for about 30 minutes, but keep an eye on them. You want them to bounce back when touched—not too springy, but just right.
After they’re done, let them cool in the pans for a bit, then transfer them to a wire rack.
And there you have it, a vibrant velvet cake ready for frosting and devouring. Just remember, patience is key—let them cool completely before slathering on that frosting. Happy baking!
Velvet Cake Substitutions & Variations
After mastering the classic velvet cake, you might find yourself wanting to experiment a bit.
Try swapping out buttermilk for yogurt or sour cream to add a tangy twist. If you’re looking for a healthier option, use applesauce instead of oil.
For a chocolatey variation, increase the cocoa and reduce the flour slightly. Want a different color? Use blue or green food coloring for a fun surprise!
You can also add different extracts, like almond or lemon, to change the flavor profile. The possibilities are endless, so don’t hesitate to get creative with your velvet cake!
What to Serve with Velvet Cake
While enjoying a slice of velvet cake, you might wonder what pairs well with its rich flavors.
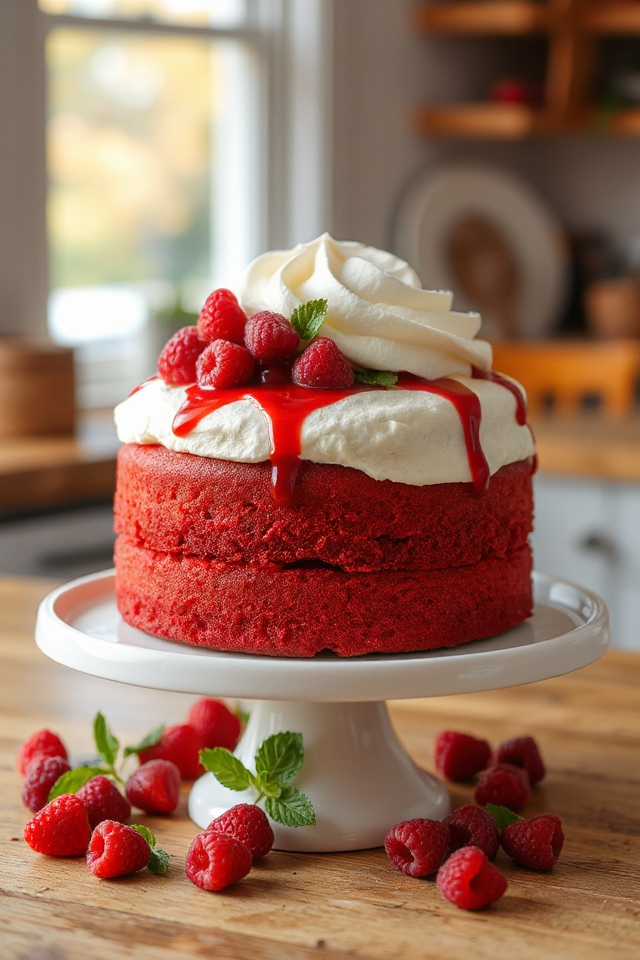
I love serving it with a dollop of whipped cream or a scoop of vanilla ice cream, which balance the cake’s sweetness perfectly. Fresh berries, like strawberries or raspberries, add a revitalizing contrast that really enhances the experience.
For drinks, I recommend a nice cup of coffee or a glass of chilled milk to complement the cake’s richness. If you’re feeling adventurous, a fruity cocktail can also be a fun pairing.
Each option brings out the velvety goodness in its own way!
Additional Tips & Notes
To guarantee your velvet cake turns out perfectly, I recommend measuring your ingredients accurately and not skipping the buttermilk, as it adds to the cake’s tender texture.
Also, make sure your eggs and buttermilk are at room temperature; this helps with even mixing.
When adding the food coloring, do it gradually to avoid clumps.
If you want a richer flavor, consider using a high-quality cocoa powder.
Finally, let the cake cool completely before frosting; this prevents the icing from melting.
Trust me, these little tips will make a big difference in your velvet cake experience!