Why You’ll Love This Magic Cake Recipe
You’ll absolutely adore this Magic Cake recipe because it’s not just easy to make, but it also offers a delightful surprise with its unique texture.
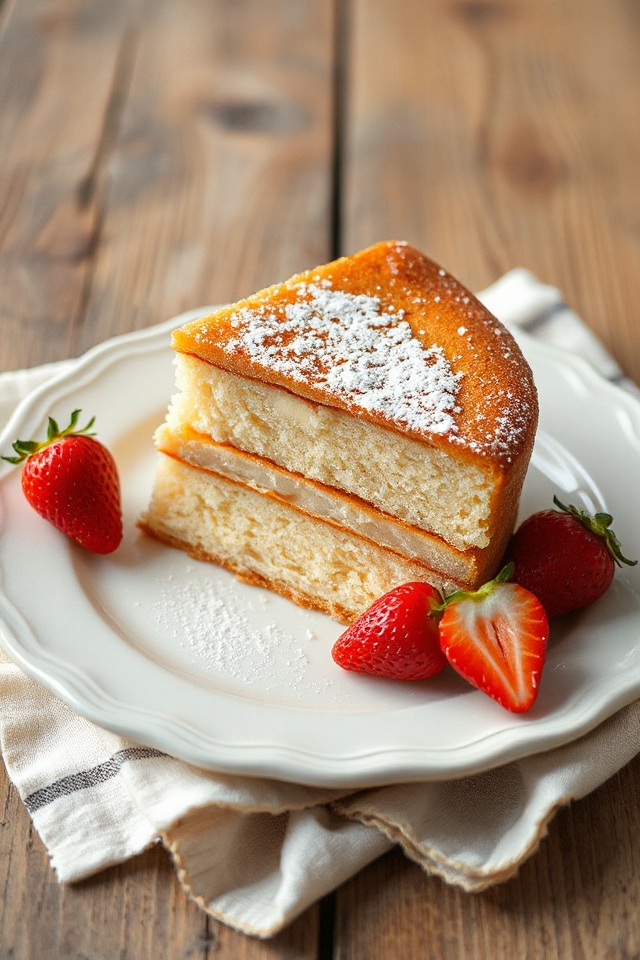
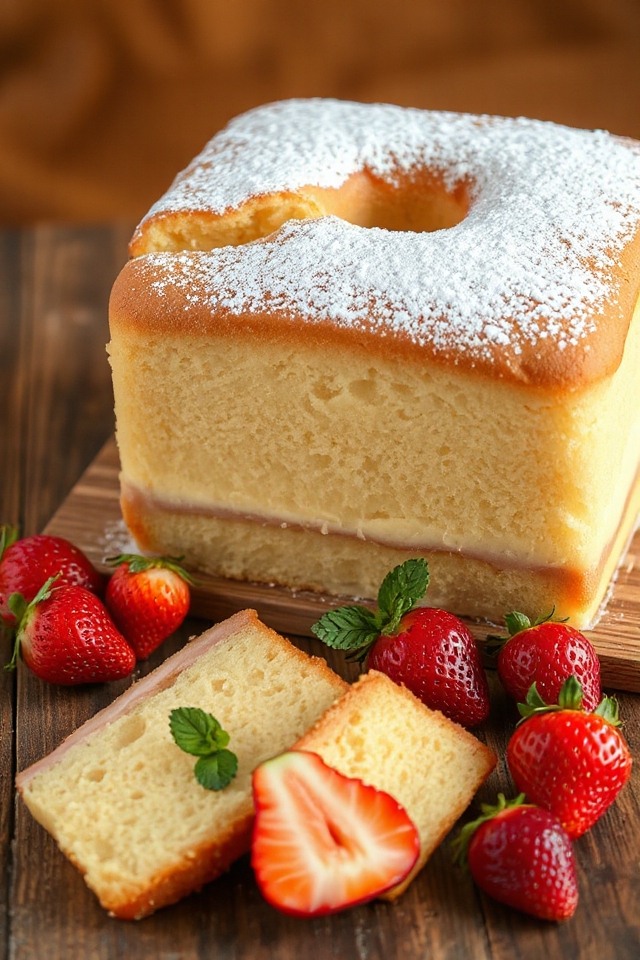
When you first slice into it, you’ll notice the three distinct layers that form during baking—each one a treat of its own. The top is light and fluffy, while the middle is creamy, and the bottom is pleasantly dense.
I love how it’s versatile, too; you can enjoy it plain or jazz it up with fresh strawberries. Plus, it’s always a hit at gatherings, leaving everyone guessing how I created such a magical dessert!
Ingredients of Magic Cake
When it comes to baking, having the right ingredients is half the battle, and this Magic Cake is no exception. It’s a simple yet exquisite dessert that transforms basic ingredients into something surprisingly delightful. You might think, “How can these everyday items create such a magical treat?” Well, let me assure you, it’s all about the technique and the way they come together.
So, let’s gather what you’ll need to whip up this incredible cake.
Here’s your shopping list for the Magic Cake:
- 4 eggs, at room temperature (make sure to separate the whites from the yolks)
- 1 teaspoon vanilla extract (because who doesn’t love a little vanilla magic?)
- 3/4 cup sugar (this will sweeten things up just right)
- 1/2 cup melted butter (butter makes everything better, right?)
- 3/4 cup all-purpose flour (the backbone of our cake)
- 2 cups milk, lukewarm (not too hot, not too cold—just right)
- 1/2 cup powdered sugar, for dusting (for that final touch of sweetness)
- Fresh strawberries (optional, but highly recommended for garnish)
Now, let’s talk about a few notes regarding these ingredients.
First off, room temperature eggs are essential because they whip up better and help create that airy texture we love in the cake.
And if you’re feeling adventurous, you can switch up the milk with a non-dairy alternative, but just keep in mind that it might change the final flavor a tad.
Also, don’t skip the powdered sugar dusting at the end; it adds a touch of elegance and sweetness that’s hard to resist. Trust me, I’ve tried it without, and it just doesn’t have the same charming flair.
How to Make Magic Cake
Making Magic Cake is like releasing a little bit of culinary sorcery in your kitchen. So, let’s roll up our sleeves and get to it. First, you’ll want to preheat your oven to a cozy 325 degrees Fahrenheit. While that’s warming up, grab an 8×8 inch glass baking dish and grease it well. Trust me, no one wants to deal with a stuck cake—it’s like a bad breakup, messy and frustrating.
Now, let’s separate those 4 eggs. It’s time to put the egg whites in a medium bowl and whisk them until they reach stiff peaks. If you’re anything like me, this might take a bit of elbow grease. I mean, who knew egg whites could be such drama queens? But stick with it; the fluffier they are, the better our cake will be. Set those aside for now.
In a large bowl, beat the yolks with 3/4 cup sugar until the mixture lightens in color—about 1 to 2 minutes should do. Then, add in 1/2 cup melted butter and 1 teaspoon vanilla extract. Keep the beat going for another minute or two. The aroma will be divine, and you might find yourself doing a little dance.
Next, we’re moving on to the flour. Stir in 3/4 cup all-purpose flour until it’s all nicely incorporated. Then, slowly add in 2 cups of lukewarm milk—this is where the magic really happens. You can use a whisk for this part, but don’t be afraid to mix it up a little (pun intended).
Finally, gently fold in the egg whites, about a third at a time, using a spatula. It’s okay if you see some white clumps; they’re just being shy. Pour that lovely batter into your prepared baking dish and let it bake for 50 to 70 minutes. You’re looking for a light golden brown top and just a hint of jiggliness in the center.
Once it’s cooled, dust it with 1/2 cup of powdered sugar, and if you’re feeling fancy, throw on some fresh strawberries. And there you have it, your very own Magic Cake. Just remember, if it doesn’t turn out perfect the first time, just call it “rustic” and move on. Cooking is about having fun, after all.
Magic Cake Substitutions & Variations
Although traditional Magic Cake is a delightful treat on its own, experimenting with substitutions and variations can elevate your baking experience.
I love swapping all-purpose flour for almond flour for a nutty twist, or using coconut milk instead of regular milk for a tropical vibe. You can also try adding lemon zest or cocoa powder to create unique flavors.
If you’re dairy-free, substitute butter with coconut oil. For a richer texture, adding a splash of buttermilk works wonders.
Don’t hesitate to get creative—each variation offers a chance to discover a new favorite version of this magical dessert!
What to Serve with Magic Cake
Magic Cake is a delightful dessert that pairs beautifully with a variety of accompaniments.
I love serving it with fresh strawberries or raspberries for a burst of flavor. A dollop of whipped cream adds a luxurious touch, while a scoop of vanilla ice cream can make it even more indulgent.
If you’re feeling adventurous, drizzle some chocolate or caramel sauce over the top for extra sweetness.
I also enjoy a side of tangy yogurt to balance the cake’s richness.
Whatever you choose, these pairings elevate the Magic Cake experience, making it a memorable treat for any occasion!
Additional Tips & Notes
When it comes to perfecting your Magic Cake, there are a few extra tips that can help enhance your baking experience.
First, make sure your eggs are at room temperature; this really helps with the texture. Don’t skip the whisking of the egg whites—they’re essential for that fluffy layer.
If you want a richer flavor, try using whole milk instead of lukewarm milk.
Keep an eye on the baking time; every oven is different, so check for that light golden brown color.
Finally, let it cool completely before dusting with powdered sugar for the best presentation.
Enjoy your baking!