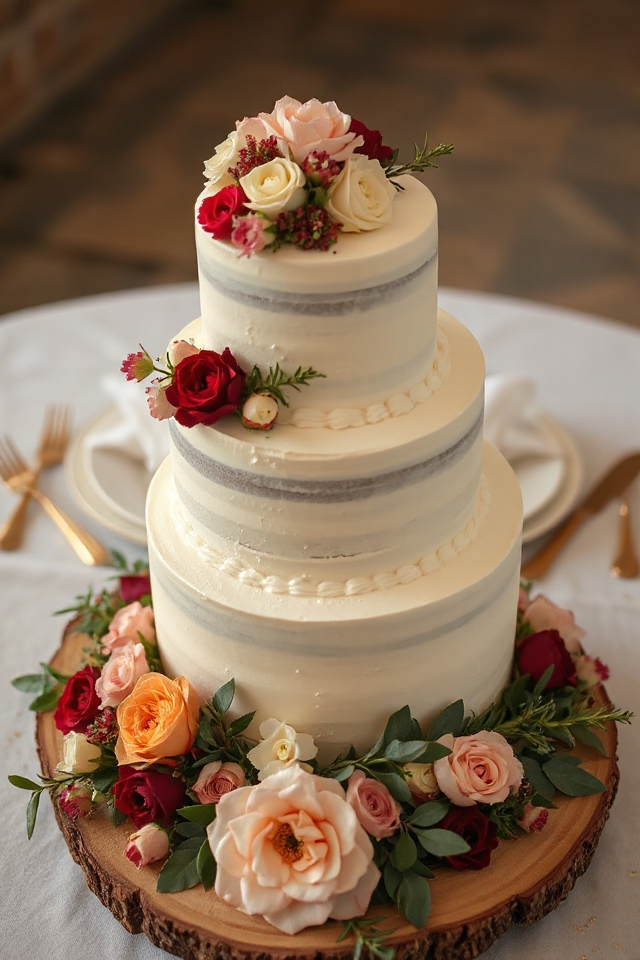
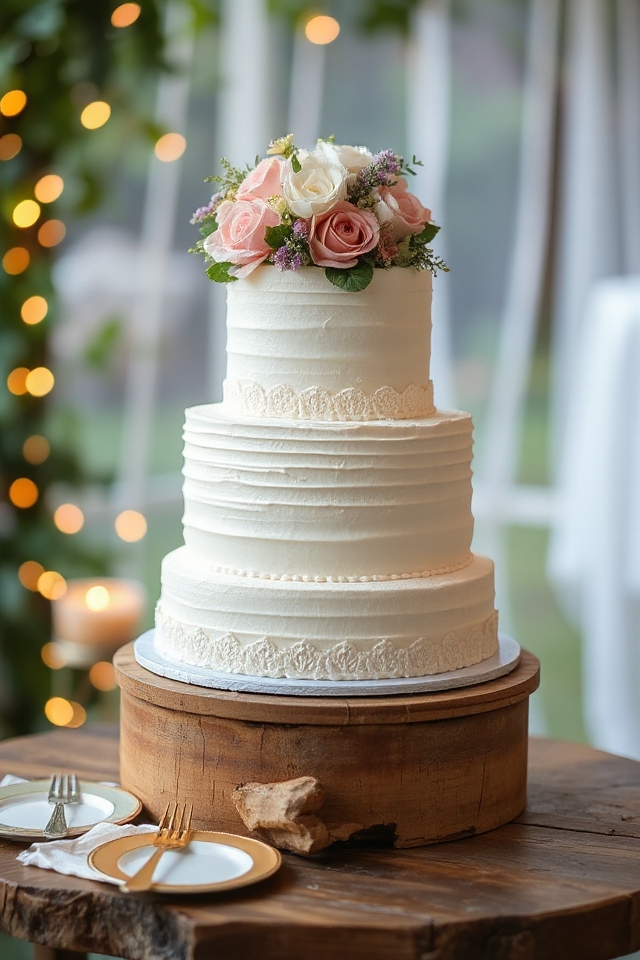
Why You’ll Love This Wedding Cake Recipe
When you choose this wedding cake recipe, you’ll discover a delightful balance of flavors and textures that make it truly special.
I love how the light and fluffy layers contrast beautifully with the rich, creamy frosting. It’s perfect for celebrating love, and the aroma while baking fills the kitchen with warmth.
Each bite offers a sweet harmony of vanilla and almond, making it memorable. Plus, it’s versatile enough for various decorations and themes.
Whether it’s a grand wedding or an intimate gathering, this cake brings joy to the occasion. Trust me, your guests will be raving about it long after the event!
Ingredients of Wedding Cake
When it comes to baking a wedding cake, the ingredients you choose play a significant role in the overall outcome. This recipe combines classic flavors with a fluffy texture that will have your guests coming back for seconds. You’ll find that the ingredients are quite simple, yet they come together to create something truly special.
So, let’s gather what we need to whip up this delightful treat that will make your celebration even more memorable.
Here’s a handy list of the ingredients you’ll need for this wedding cake:
- 3 cups cake flour
- 4 teaspoons baking powder
- 1 1/2 teaspoons salt
- 5 egg whites
- 6 tablespoons sugar (for the egg whites)
- 6 tablespoons shortening
- 1 2/3 cups sugar (for the cake batter)
- 1 1/3 cups milk
- 2 teaspoons vanilla extract
- 1/4 teaspoon almond extract
Now, before you rush off to the store, let’s chat a bit more about these ingredients. For instance, using cake flour instead of all-purpose flour is key because it gives the cake that ultra-light texture we all love.
And those egg whites? They help create that lovely fluffiness. If you’re feeling fancy (and let’s be honest, who doesn’t want to feel fancy when baking a wedding cake), using pure vanilla and almond extracts makes a huge difference in flavor. Trust me, your cake will taste like a slice of heaven!
Just a heads up, make sure to measure everything accurately—baking is a science, after all. And hey, if you don’t have almond extract on hand, you can always skip it, but I wouldn’t recommend it. It adds a delightful twist that really elevates the cake.
Happy baking!
How to Make Wedding Cake
Making a wedding cake might seem like an intimidating task, but trust me, it’s all about breaking it down into manageable steps. First things first, let’s get our ingredients ready. You’ll start by sifting together 3 cups of cake flour, 4 teaspoons of baking powder, and 1 1/2 teaspoons of salt—twice, to be precise. Yes, twice! I know it sounds a little excessive, but this is where that wonderfully fluffy texture begins.
While you’re at it, beat those 5 egg whites until they’re foamy. Then, add in 6 tablespoons of sugar, one tablespoon at a time, until you’ve got soft peaks forming. It’s like magic watching those egg whites transform into something so airy.
Now, let’s move on to the cake batter. Grab a mixing bowl and cream together 6 tablespoons of shortening with 1 2/3 cups of sugar until it’s light and fluffy. This is where the cake starts to take on that sumptuous sweetness.
Then, mix in 2 teaspoons of vanilla and a splash of 1/4 teaspoon almond extract for that extra oomph of flavor. Next, alternate adding your flour mixture and 1 1/3 cups of milk to the bowl, beating after each addition until smooth. Finally, fold in those glorious egg whites and give it a good mix for about a minute.
Now, don’t panic if it feels like a lot of steps; it’s a labor of love, and you’re going to feel like a baking superstar when you’re done.
Once your batter is ready, grease your pans—either two 9-inch square pans or one 13x9x2 pan—because nobody wants their cake to stick. Pour the batter in and pop it in a moderate oven set to 350°F. Bake those beauties for 30 to 40 minutes, and while they’re in the oven, take a moment to revel in the delightful aroma wafting through your kitchen.
After baking, cool the cakes on racks for 10 minutes, then gently loosen them from the sides of the pan. When they’re completely cooled, wrap them up to keep them from drying out.
And there you have it, the foundation of your wedding cake. Just wait until you get to the frosting part; that’s where the real fun begins!
Wedding Cake Substitutions & Variations
After you’ve crafted that delightful cake batter, it’s time to explore some creative substitutions and variations to make your wedding cake truly unique.
You can swap out cake flour for all-purpose flour for a denser texture or use gluten-free flour for guests with dietary restrictions.
Want a flavor twist? Try incorporating citrus zest or spices like cinnamon.
For a richer taste, consider using butter instead of shortening.
You might even experiment with fruit purees instead of milk for added moisture and flavor.
Each tweak brings your personality into the cake, making it a memorable centerpiece for your special day!
What to Serve with Wedding Cake
While planning the perfect wedding, you might wonder what to serve alongside your stunning wedding cake to enhance the overall experience.
I love pairing the cake with a selection of fresh fruits, like berries or sliced citrus, which add a rejuvenating touch. A scoop of vanilla or almond ice cream can also elevate the dessert, providing a creamy contrast.
If you’re feeling adventurous, consider serving a rich chocolate sauce for those who crave something indulgent.
Finally, a light sparkling beverage or champagne complements the cake beautifully, making every bite feel like a celebration.
It’s all about creating a delightful moment!
Additional Tips & Notes
Serving your wedding cake alongside delightful accompaniments can elevate the experience, but there are a few additional tips to ascertain your cake shines on the big day.
First, make sure your cake layers are completely cooled before frosting; this prevents melting and sliding. I recommend using a thin glaze to anchor crumbs before applying the frosting.
Don’t forget to keep your cake covered once cooled to maintain moisture. If you’re tinting your frosting, do it gradually to achieve the perfect shade.
Finally, practice your decorating skills ahead of time to boost your confidence and create a stunning centerpiece for your celebration.